Mastering Obsidian's Graph Feature: Essential Settings for Enhanced Usability
The Graph Feature's New Color-Coding Makes Connections Much Easier to Visualize
Recently, Obsidian's "Graph" feature has become increasingly handy, especially with the introduction of color-coding in graphs (added in v0.11.0). This enhancement has not only made graphs more visually appealing but also more useful for organizing thoughts.
Simple Yet Effective Configuration for Personal Use
I primarily use Obsidian with its default English settings for convenience, particularly because it enables incremental search with Cmd+P and quick file access with Cmd+O.
Always Displaying the Graph in the Bottom Right
My typical Obsidian layout includes an <iframe> for Workflowy on the left, followed by "Today's Note". The Graph, feeling more user-friendly with a wider layout, is almost always visible in the upper right area, requiring a reasonably sized monitor.
Diverse Graph Settings
The Graph in Obsidian offers numerous customizable settings. For practical usage, it's best to adapt these settings to your specific needs. I'll share my usual settings as an example.
Filters
The primary setting under "Filters" is to determine how much of the Graph to display. I set the "depth" to 2, which shows items connected up to two nodes away, similar to Scrapbox. This depth makes it easier to find related notes, especially those linked to the same MOC (Map of Content).
Group Color-Coding
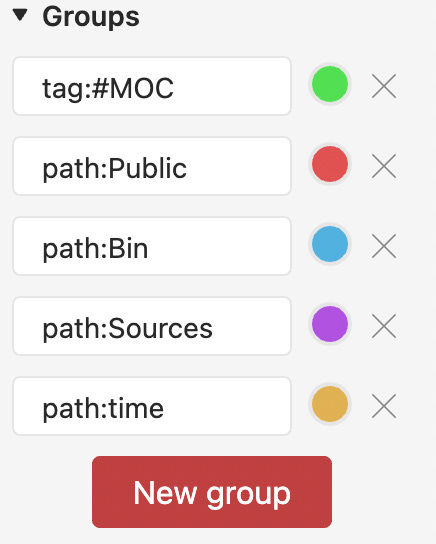
Added in v0.11.0, this feature allows color-coding of notes based on search criteria in Obsidian. My basic setup includes color-coding for notes tagged as MOC and those within specific folders.
Visual Display Adjustments
This category primarily involves altering the appearance of connections. I usually stick with the default settings, but you can modify line thickness and node size.
Setting Connection Forces
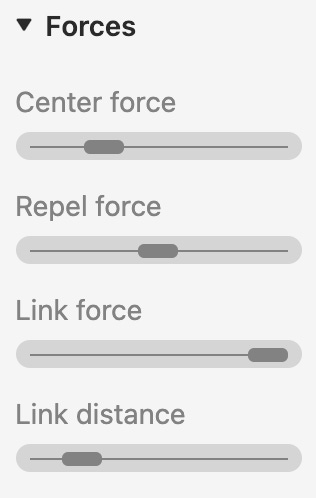
The "Forces" setting changes the strength and distance of connections between notes. This can vary based on personal preference and the number of connections a note has.
Saving Preferred Settings as Workspaces
A key point to remember is that search settings can easily be lost when closing tabs or making other changes. To prevent this, I recommend using the "Workspace" plugin, a core plugin in Obsidian that allows you to save window layouts and settings under named workspaces.
These workspaces can be accessed through Cmd+P and typing 'work', and can be created for various purposes like "Editing Mode", "MOC Creation Mode", or "Connection Exploration Mode".
Purpose-Driven Samples Show Significant Differences
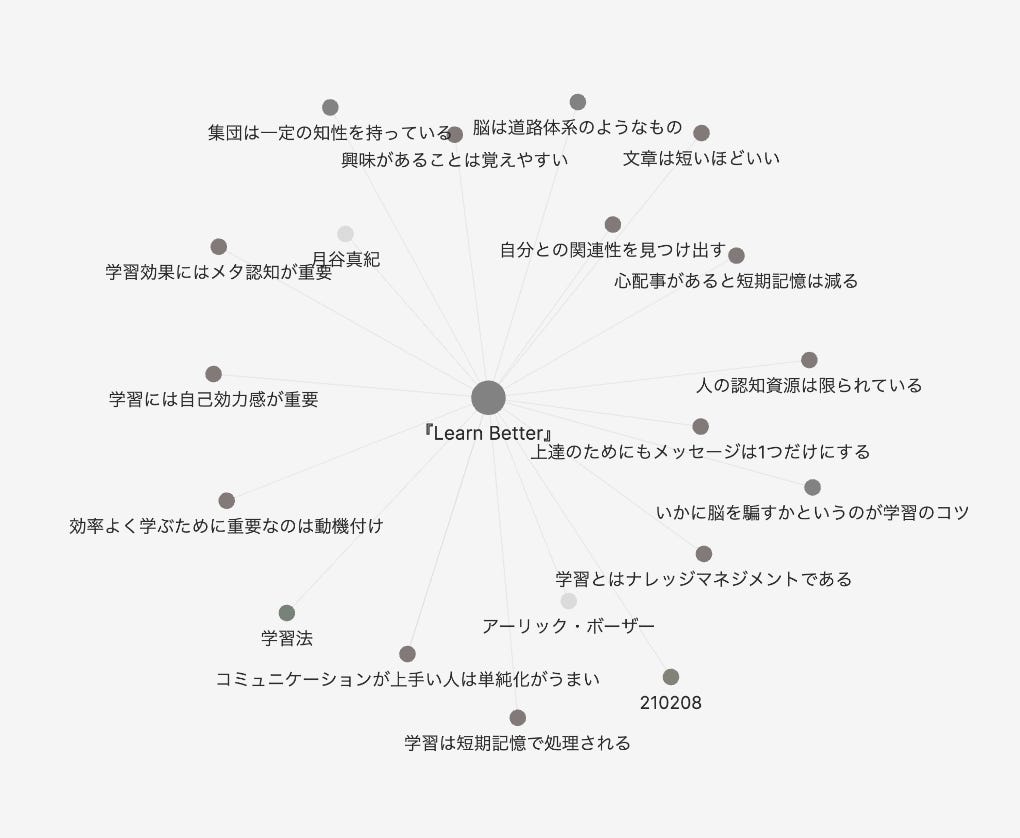
To demonstrate, here are comparisons between the default Graph settings and my custom settings.
Sample 1
While the standard settings might seem adequate, the effectiveness varies depending on the nature of the notes.
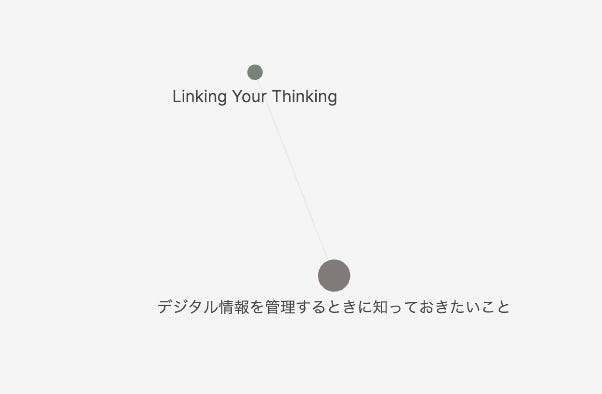
Sample 2
Setting the graph to show connections up to two nodes away makes it easier to find related notes and to embed links to these notes in new entries.
Leveraging the Benefit of Always Visible Connections
One of Obsidian's strengths is its high degree of layout flexibility and the ability to easily save these layouts. While connections might not be essential for daily notes, they prove highly useful when organizing and connecting past notes. Considering various layouts and Graph usages depending on your purpose can significantly enhance the utility of Obsidian.


Heya, I don't understand how you're getting the depth slider... does it still exist in Obsidian 2025?